You will learn the answers to all of the most common questions regarding Crown Prep’s:
- Ideal measurements recommended to follow
- How to avoid an undercut
- What is the ideal degree of taper that we need to consider?
- Which Margin should we give? Shoulder or chamfer?
- How to polish the crow
- How many putty index should be utilized to get an ideal reduction?
- Is under-reduction better or over-reduction?
- How to maintain good occlusal anatomy
- How to avoid nicking the adjacent tooth
I always tell everyone if you want to be good at something “you need to practice every single day” Similar goes for your crown preps or any other task. It takes time for your handwork and hand-skills to reach a good level. You cannot modify them in 2 days, it takes from a good range of 4-9 months depending on candidates and their previous experiences. As everyone is different and have a different mental capacity.
Let’s talk about major errors that can land you in unsatisfactory criteria:
- Most important “UNDER REDUCTION” under reduction will land you in straight fail criteria immediately. So always remember “Over is always Better then under” you can still end up with borderline and pass with overreduction but will land in fail with under.
- Quick Tip- Never rely completely on the putty index, putty is never accurate. Always check with:
- Visual aid (after a while you should be confident enough to know the reduction just by visualization of the tooth prep, without any putty measurements).
- Compare with adjacent tooth
- Probe measurements.
- Second and most crucial point to stay away from is “Any big or sharp undercut” unmanageable undercut will again put you in the unsatisfactory criteria.
- Tips to avoid an undercut- “angulation of the bur” Always keep it with the long access of the tooth.
- Third and most underestimated mistake ”Taper” Make sure your prep has a good taper to it.
Learn about the Ideal measurements in my opinion to keep you in the safe zone in the exam and produce a passing result and more.
Detailed theory and hands on session included in the Masterclass for :
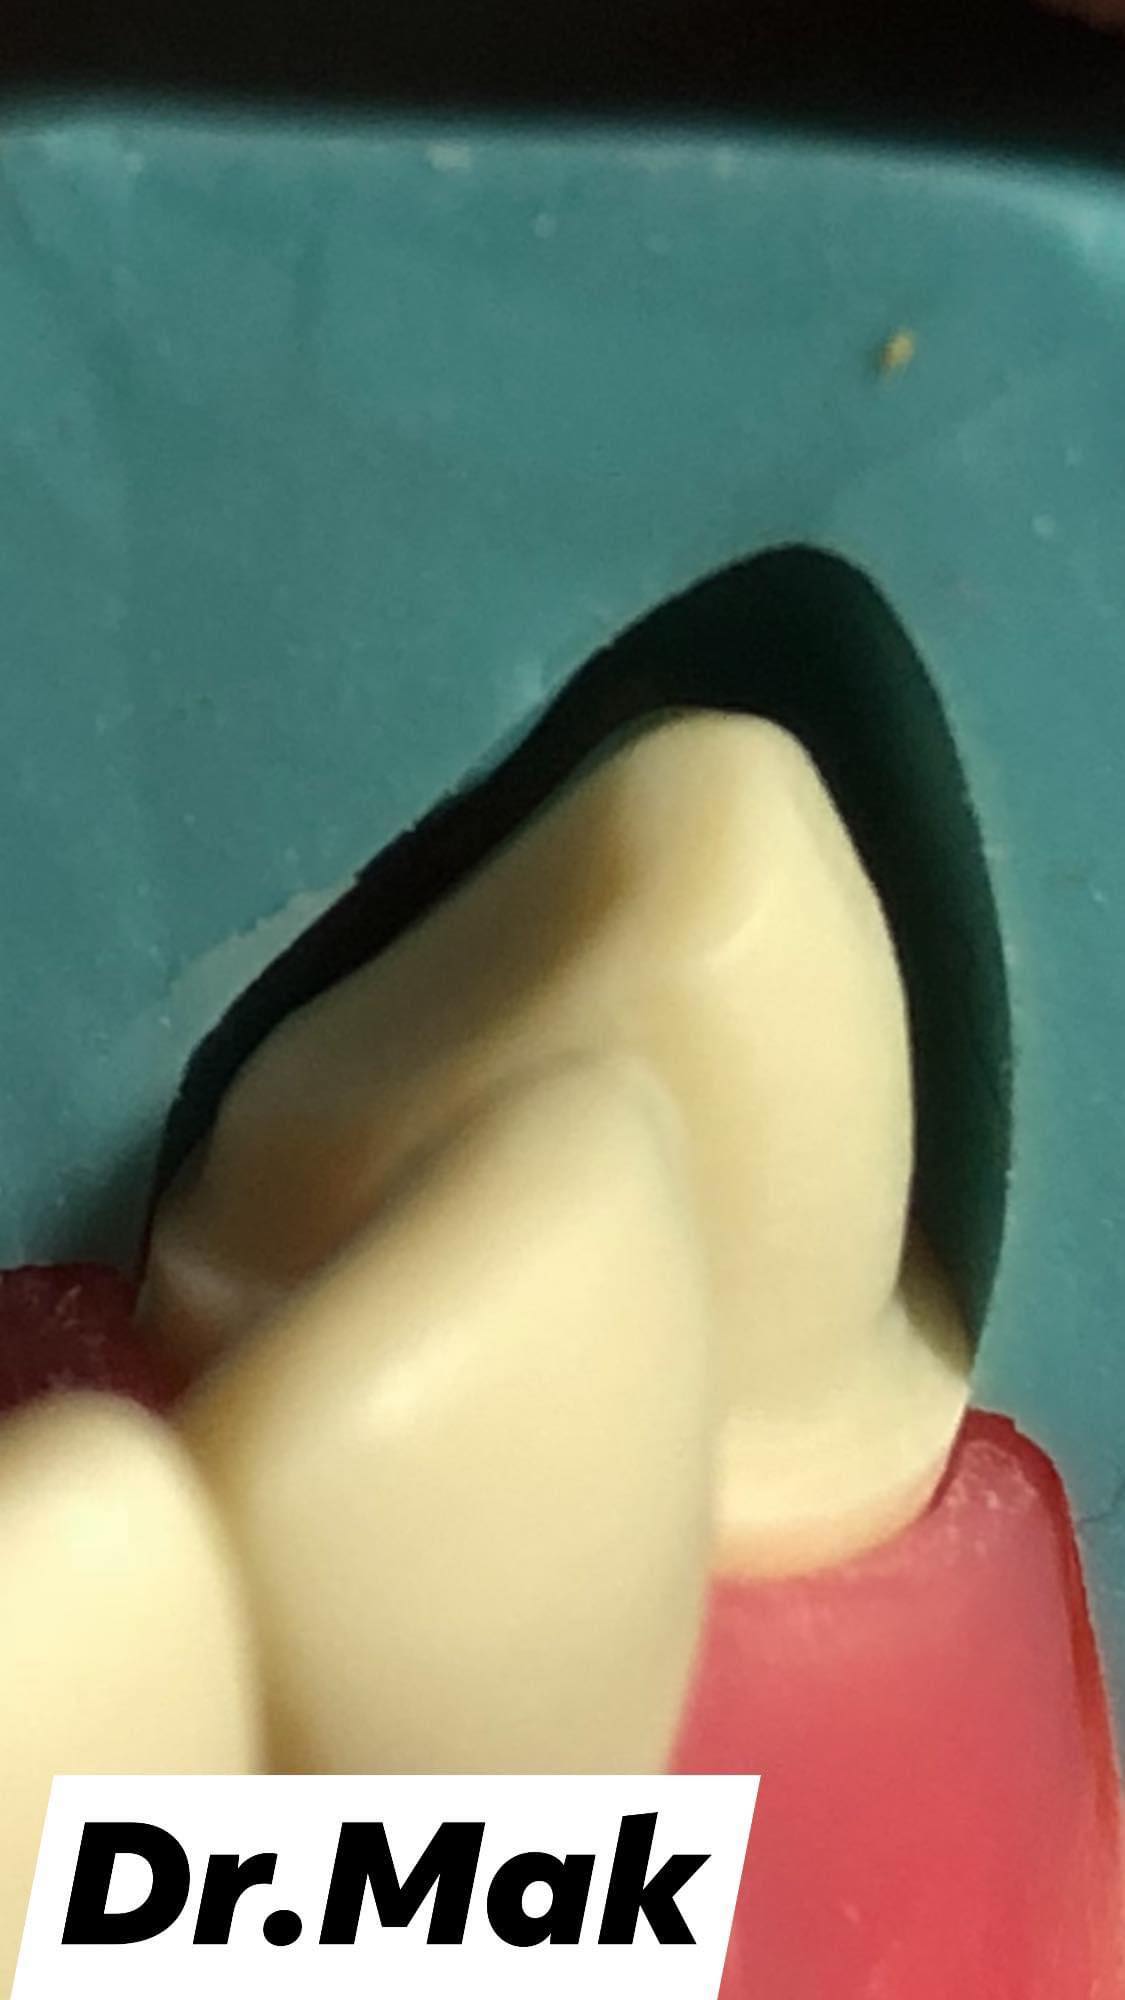
- Canine PFM Crown preparation
- Molar PFM crown prep
- Bonus video on Central Incisor PFM Crown Prep
Dr. Mak